
How to fix “413 request entity too large” in AWS elastic beanstalk solution-2
Continuation of EBS error to solution one if it doesn’t work then try the below solution where is process is a bit long, but 100% working solution for 413 request entity too large error.
Note: This is not a permanent solution. This Settings reverts to the old version when EBS gets a new version update. Else try this solution click here
step1: select the EC2 instance of the elastic beanstalk in the EC2 dashboard, which will be having the same name as the EBS environment name, and in the below Description click on the security group ID of that instance which will take you to the desired security group policy.
step2: In the security group click on Inbound Rules and click Edit Roles and add SSH policy as shown in the below image.

step3: In EC2 under Network and Security select Key Pairs and create a new key pair and save it as .ppk(for windows Putty) if u are accessing using SSH cmd the save as .pem
step4: goto Elastic Beanstalk and select the environment of your application and go to Configuration. Under Security click edit and add the key pair you just created from the dropdown list. It will now remove current running instance and create a new instance with this key pair.
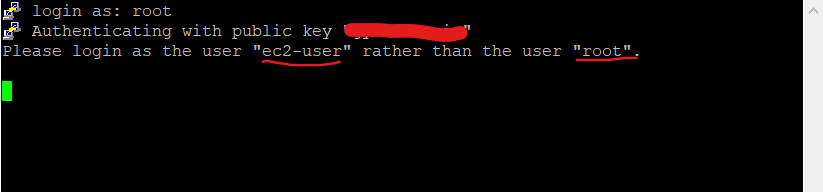
step5: Now go back to EC2 dashboard and select the new running EBS instance and click on connect, which will popup the various way in which you can connect to EC2 instance. Here we will connect using the SSH cmd line then it might look like: ssh -i “your-pem-key.pem” root@your-IP
note: try connecting using user “root” if it is not working then try “ec2-user”. If your key pair is correct it will prompt the instance username if there is an error connecting the replace with that as shown below.
before connecting you need to set access permission to read .pem file using below cmd.
chmod 400 your-pem-key.pem

ex: ssh -i "your-pem-key.pem" root@127.0.0.1 (please enter your EC2 instance public IP)
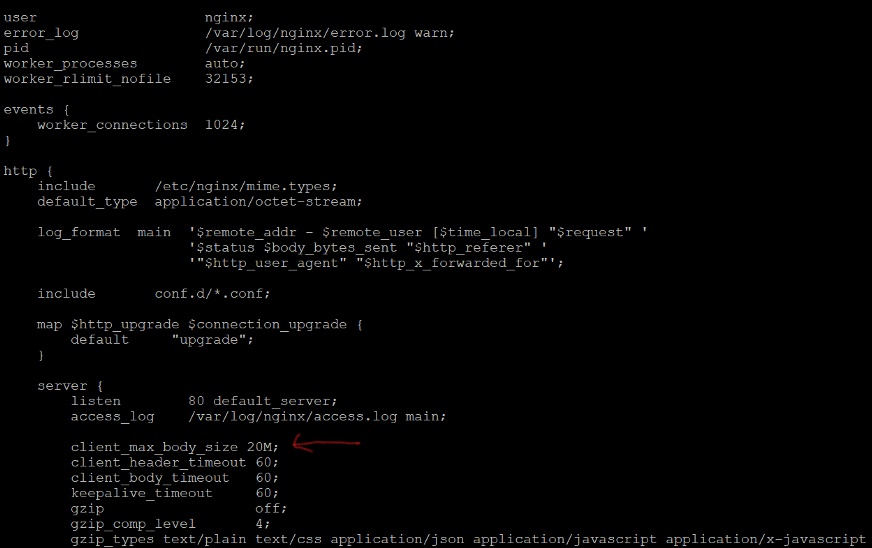
Once you successfully login to EC2 instance we need to configure “/etc/ngnix/nginx.conf” this file as shown below)
1. cd /etc/ngnix
2. sudo vim nginx.conf
3. add "client_max_body_size 20M" inside server:{} below. (size you can set whatever suits you)
4. save the file and exit.
5. then move to root dir cd /sbin
6. now restart nginx "sudo nginx -s reload".
on successful reload of nginx you can test you application file upload result for ebs error 413.
Arjun is a Full-stack developer, who is fond of the web. Lives in Chikmagalur, Karnataka, India